Stone House Kachelöfen
Kachelöfen
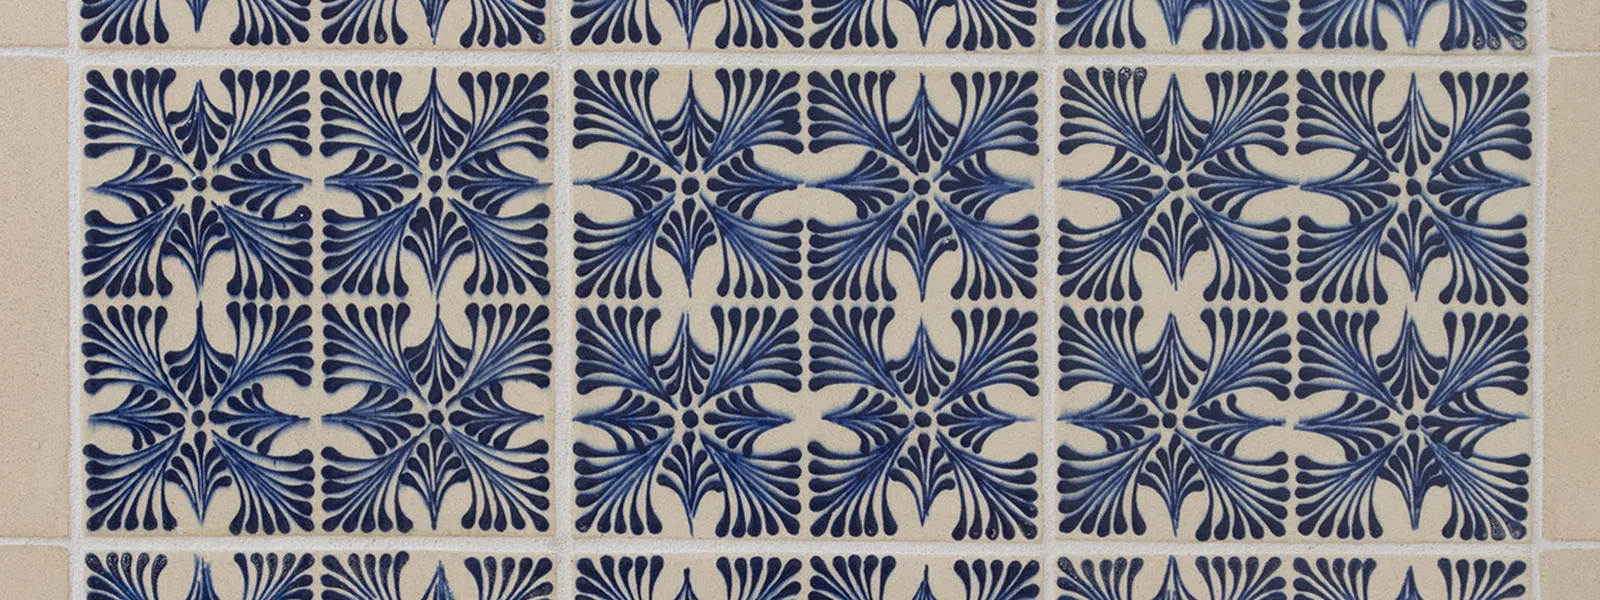
Tile & Kacheln
Order
News
About
Support
Search
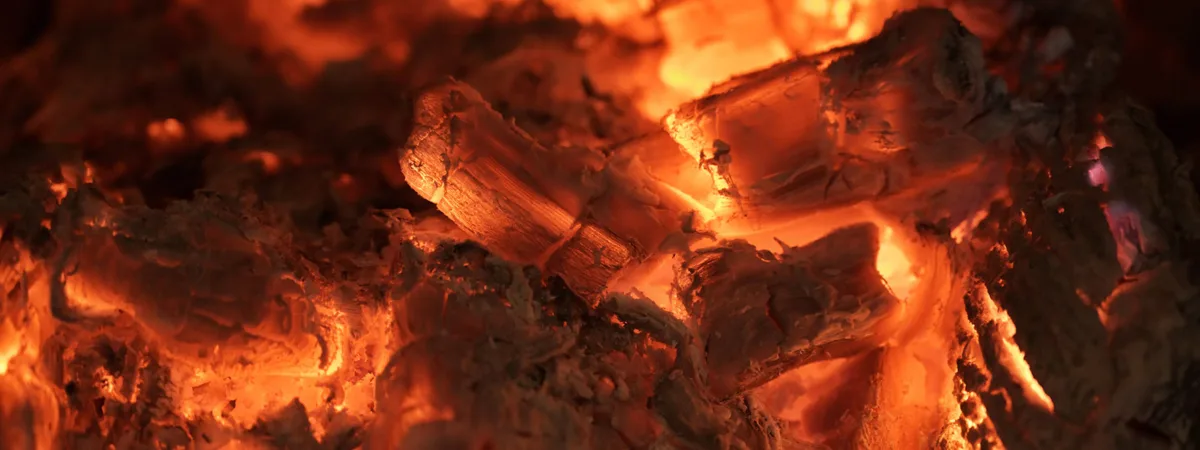
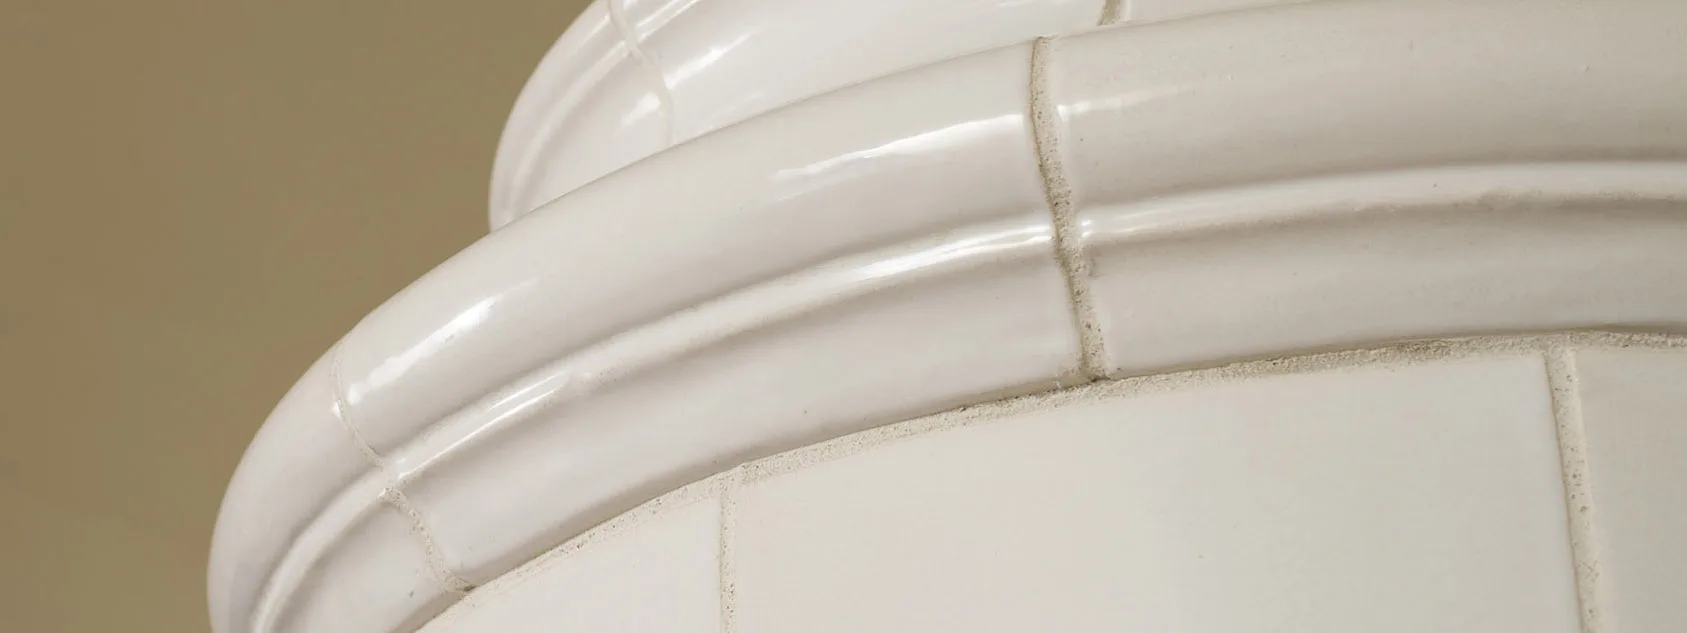
Handmade Warmth
Available in four core styles
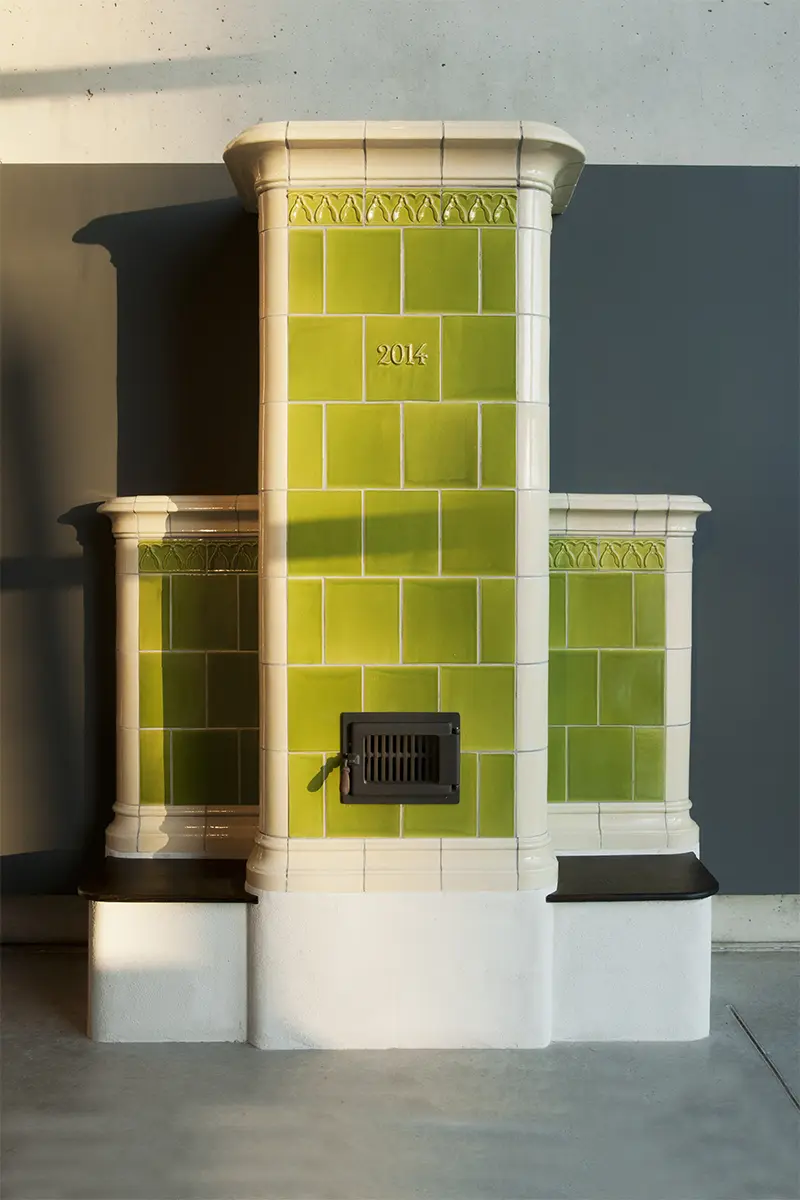
Franken
Muskoka
Roslyn
St. Gallen
Please enjoy some of our recent projects
Slip Trailed Kachelofen
Jessica’s House
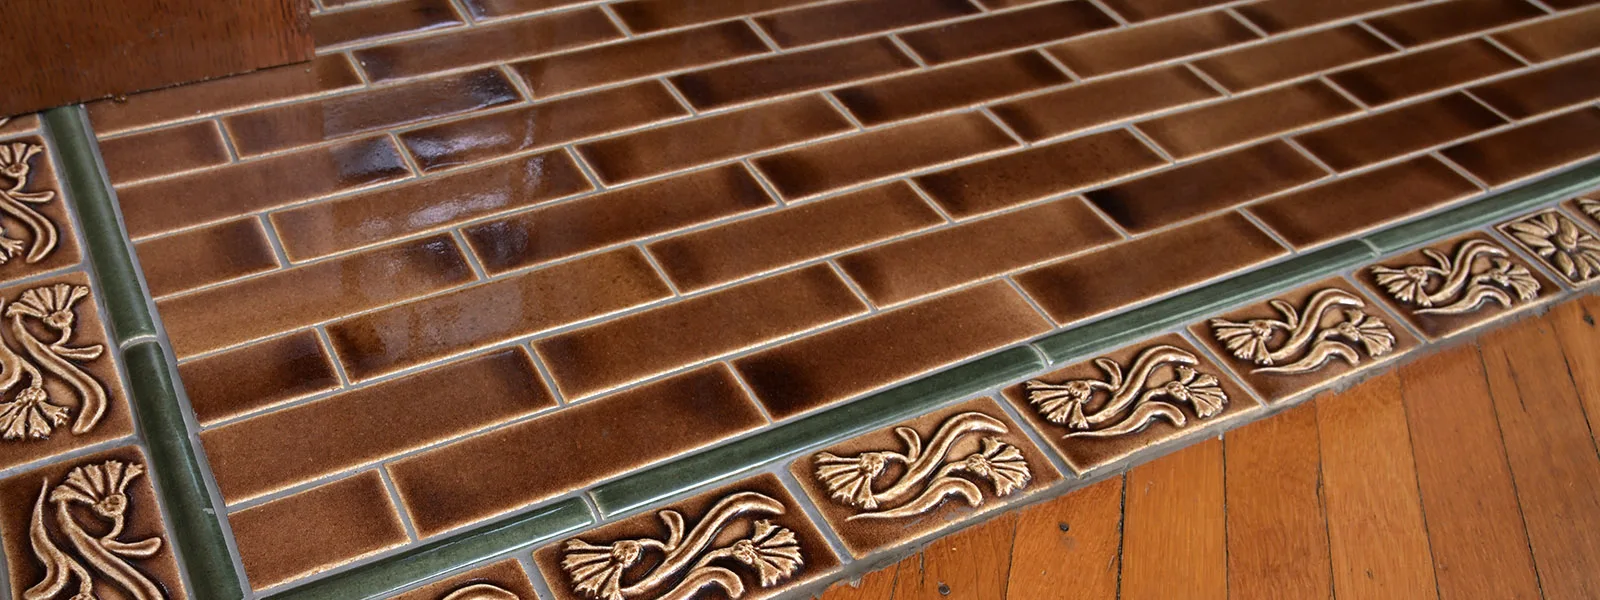
Victorian Hearth and Surround
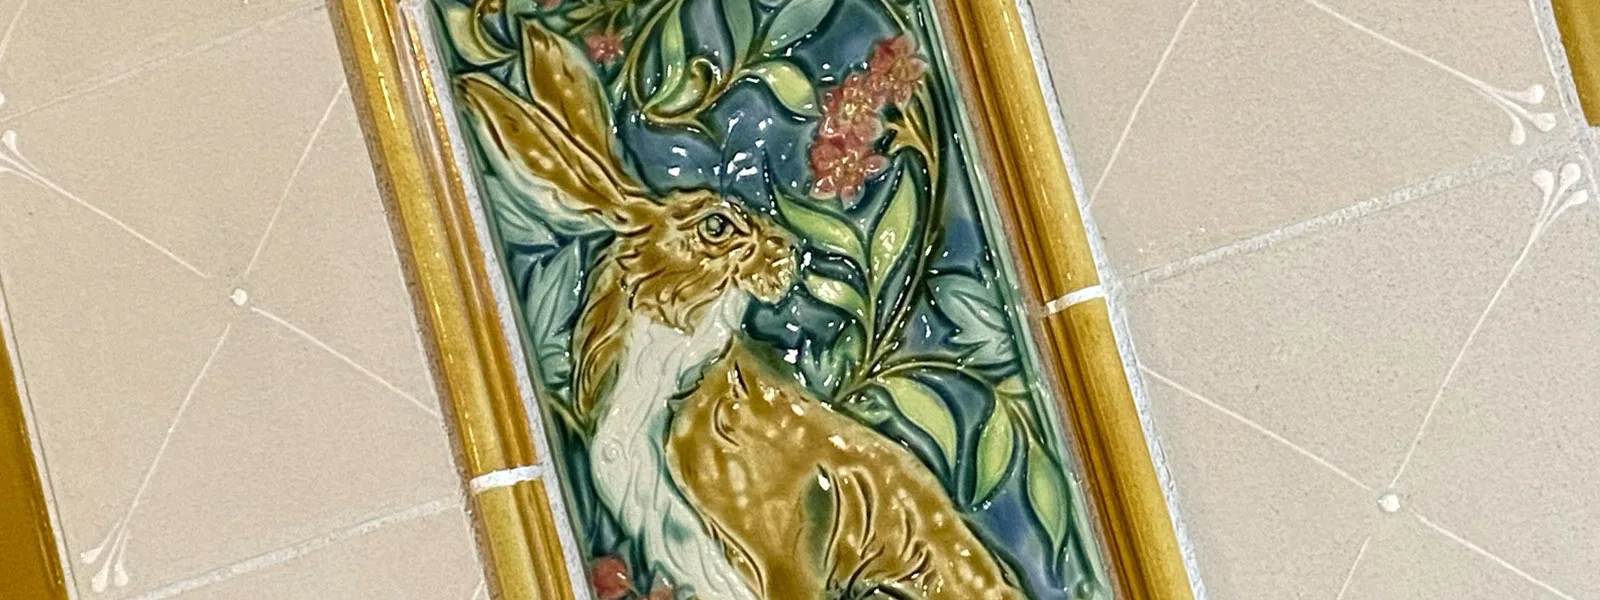
Bunny Stove
Double sided Kachelofen
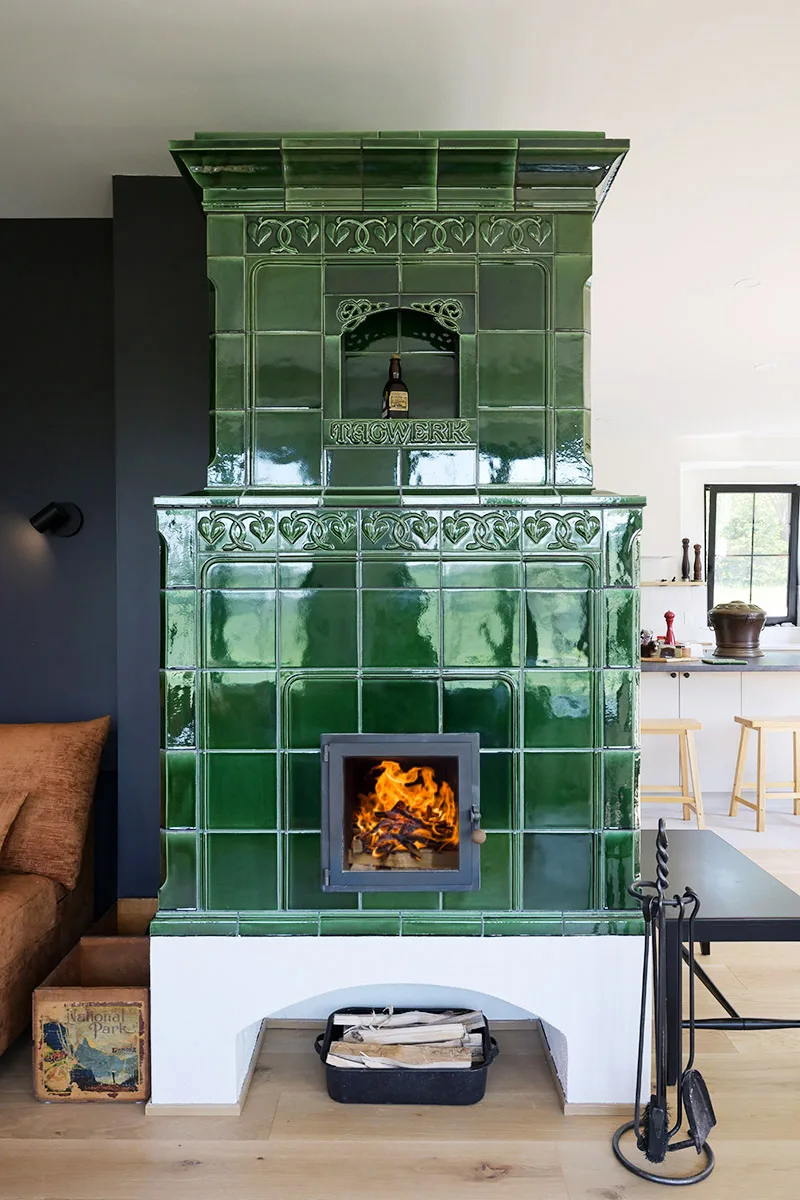
The Original Roslyn Kachelofen
Cherokee Rose Kachelofen
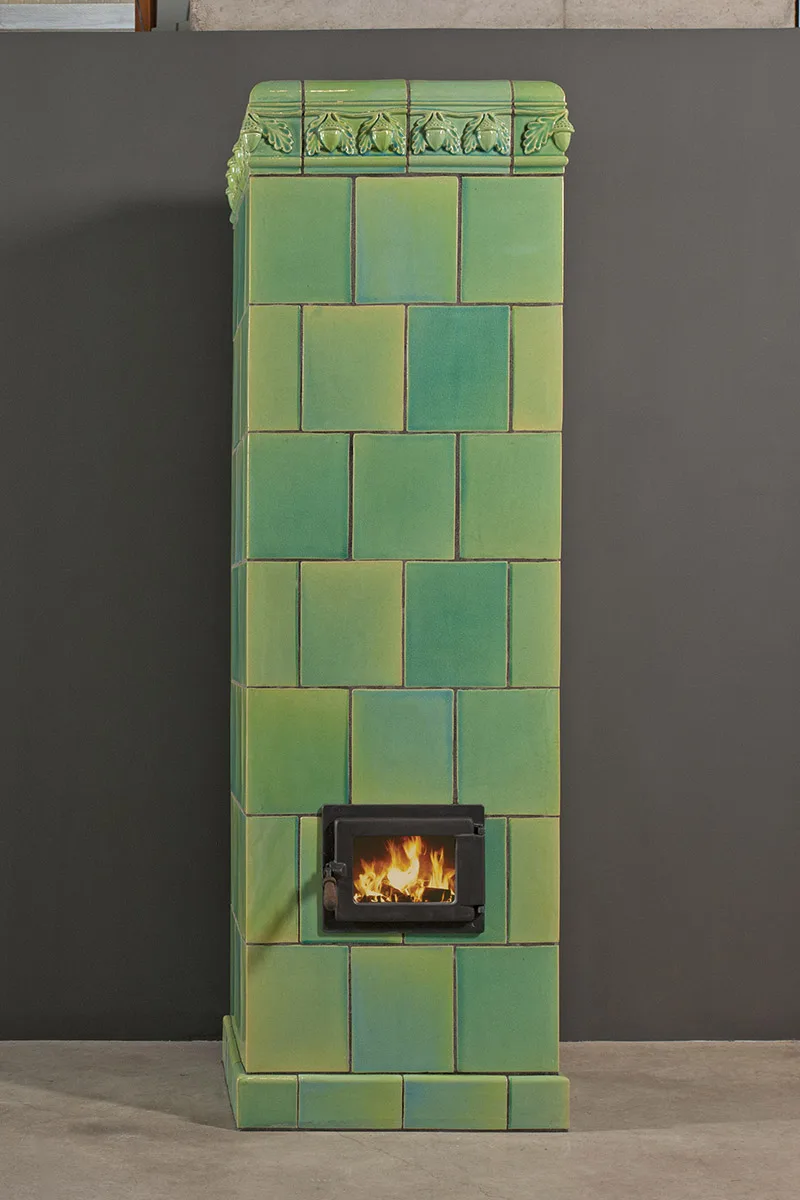
The Original Muskoka Kachelofen
Compact Muskoka Kachelofen
See Available Styles
See More Kachelofen
follow us on social media
Facebook
Instagram
YouTube
Back to top